Georeferencing Documentation (Locating a historic map image on a modern map)
Step 1 Georeferencing with Ground Control Points
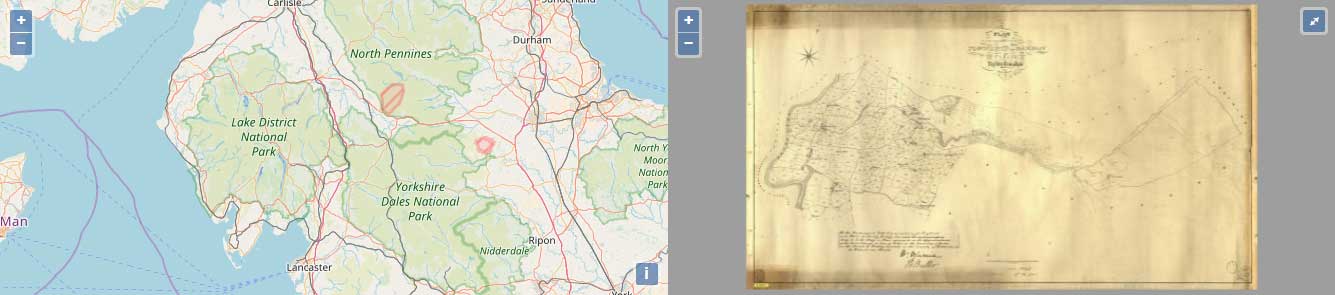
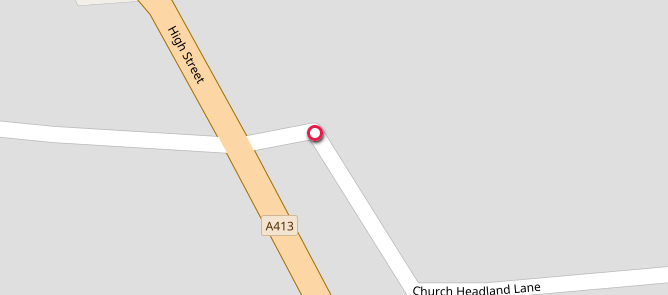
This is the modern map. It will be zoomed in to an approximate location (if it is known) such as a county or parish.
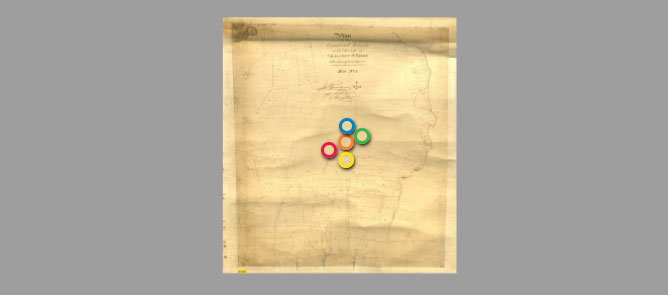
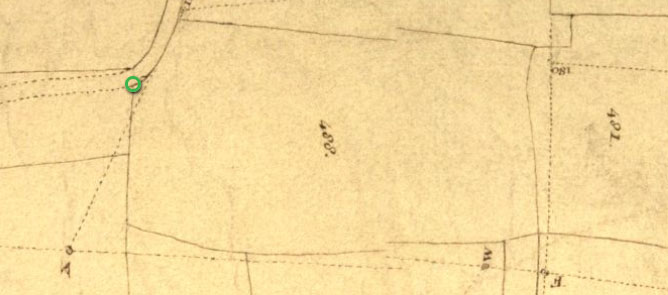
This is the historic map which needs to be located.
You will now need to do some investigative work to locate the place.
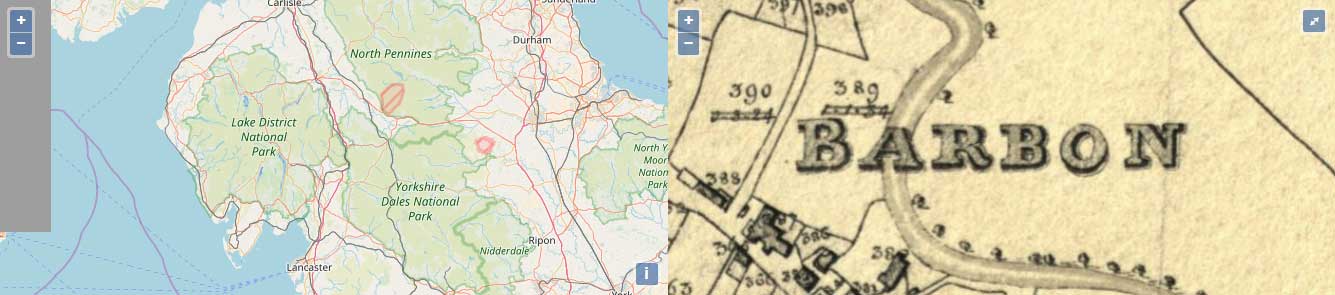
Try searching in the search box on the top left of the modern map. The searched area is restricted to just the map in view, so ensure you have zoomed in or out sufficiently.
If you get stuck we recommend you make use of Google and/or Google Maps as these offer much more advanced searching.
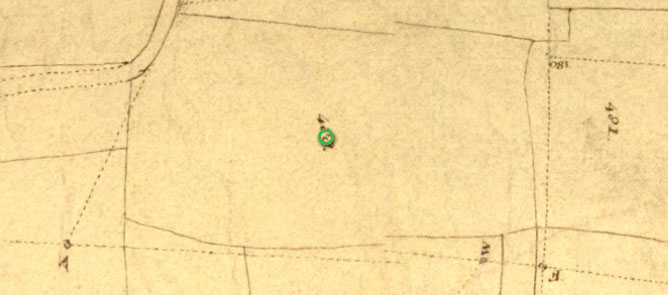
Zoom into the historic map and find the most major named feature. This could be a town, river, church or even larger properties which may still be called that same name.
Remember: these maps can be well over 100 years old so almost any feature named on the historic map could have been renamed or removed in the intervening years. Start with the most major looking feature and keep trying until you find one.
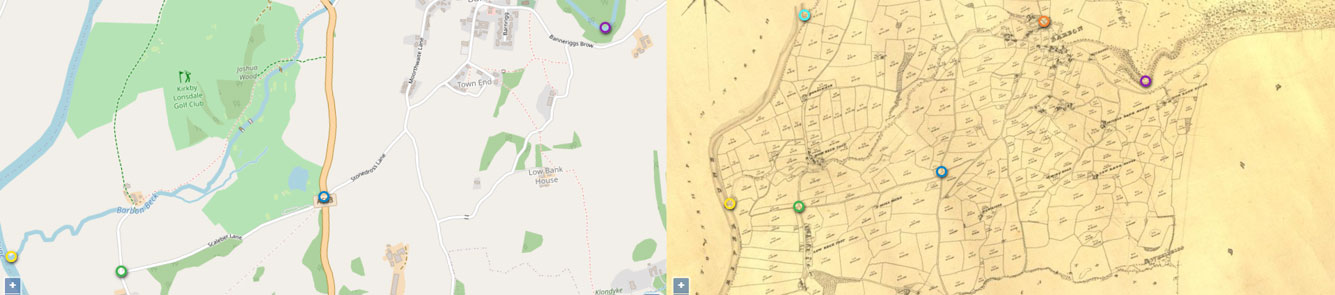
Zoom into the same area on each side and find features which exist on both maps e.g. road junctions, rivers, field boundaries, blocks of trees.
Click on the same feature on each map. Try to be as accurate as possible as a small variation can have a large impact on the accuracy over the whole map.
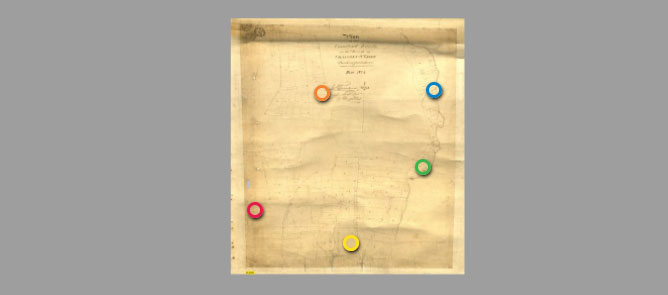
Repeat this with at least 5 to 10 sets of points, or more for increased accuracy.
For the best result try to pick points as far away from each other as possible.
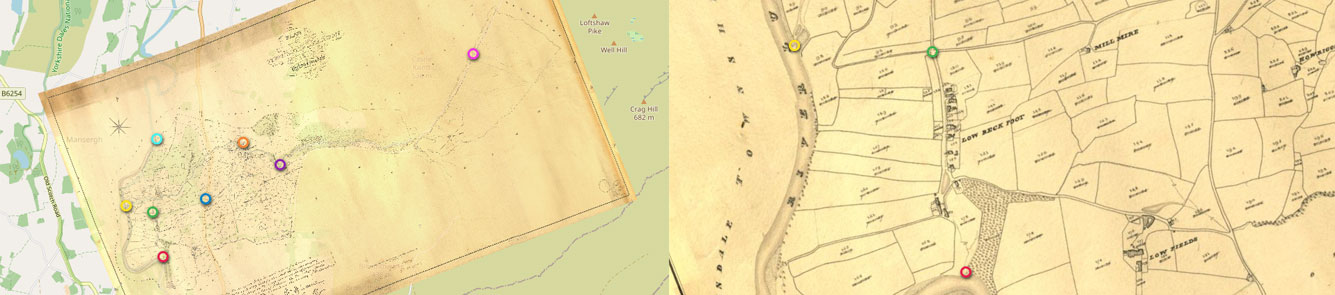
You may now press the "Overlay" button below to display the image overlaid on top of the map.
Zoom in and check that it forms a good fit across the whole map. This can be done by sliding the transparency slider back and forth and checking that features on the extremities of the map line up.
If it fits well move onto the cropping step
Accuracy Hints and Tips Every point plotted and map cropped MUST be with high accuracy. To ensure this, please follow these hints and tips.
Zoom Please zoom into all areas used for georeferencing

Widely Spread Georeferenced Points Ensure even distribution of all points where possible
Use landmarks for Georeference Points Make sure easily identified land marks are used as a georeference point. These can be field boundaries, edges of buildings, road junctions, areas when roads and rivers or streams meet etc. This will ensure that the same point on the modern map and also the Tythe map is chosen.
Step 2 Cropping
To allow images to be tiled together into a seamless overlay we need to know which parts of the image are part of the map and which are the other items which surround it e.g. borders, descriptions of the map etc.

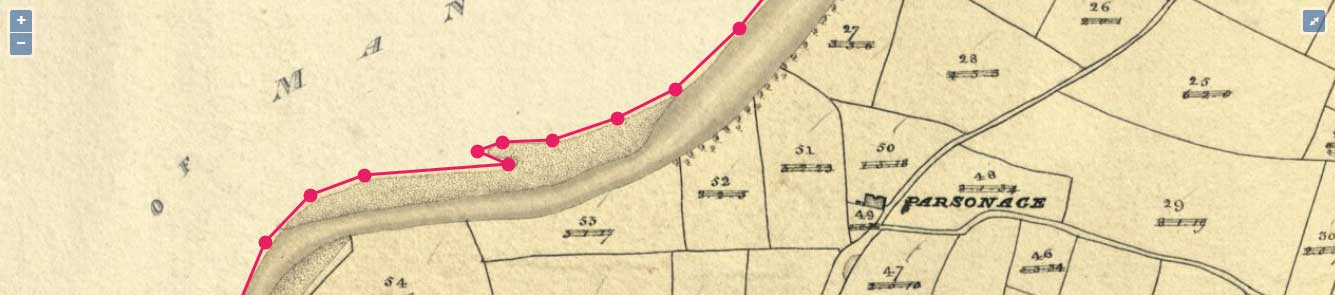
Identify the areas of the image which contain the map and which are not needed
Drag the existing nodes (the circles where each line changes direction) to move them
Click on the line to add a new node at any point it is needed.
Move and add nodes until the map area is accurately contained within the polygon shape
Accuracy Hints and Tips The cropping of the map is critical in order to piece together all the individual maps to create one large county overlayer. Each individual map is like a large piece of a puzzle, so close cropping is essential for this.
Advanced Cropping
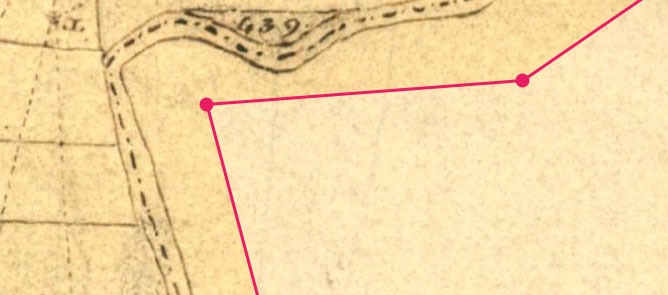
Problem
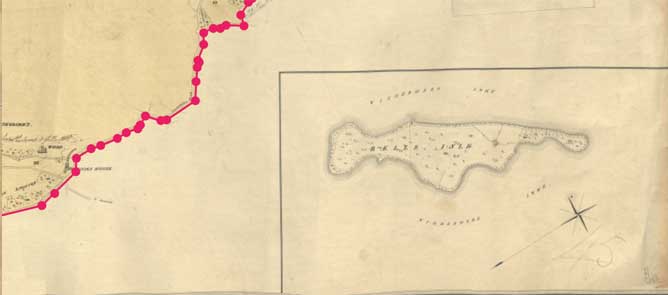
Map has extra elements (such as islands) which do not fit into the same reference as the base mapSolution
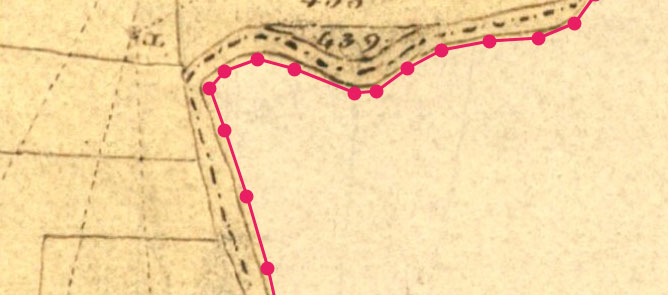
Exclude these elements from the crop area.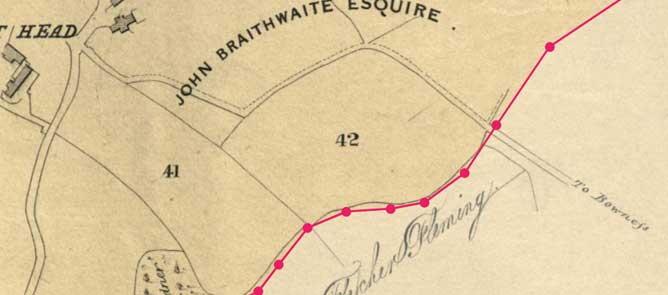
Problem
Map has road etc. which sticks out into empty spaceSolution
Exclude these elements from the crop area.Tools
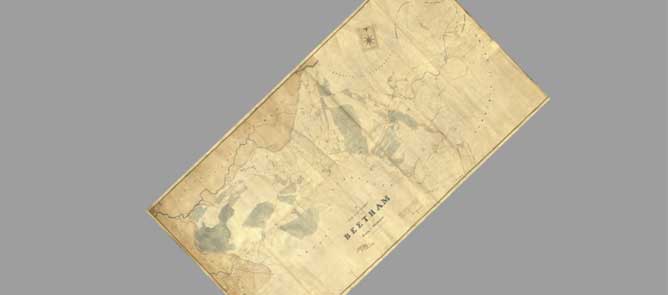
Rotate Image
- Hold down Shift and Alt together
- Hold down Left Mouse Button while positioned over the map and move the mouse to rotate the map
- Release Left Mouse Button and Shift and Alt
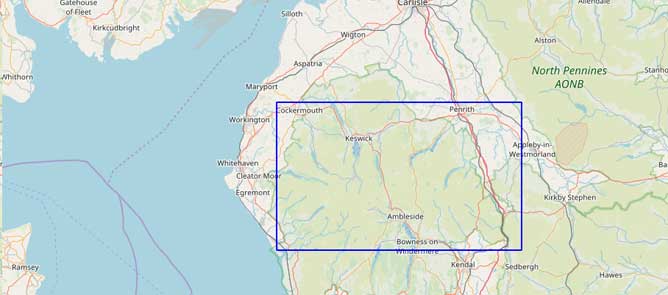
Zoom to box
- Hold down Shift
- Hold down Left Mouse Button while positioned over the map and move the mouse to draw a rectangle
- Blue rectangle will show on map indicating area which will be zoomed to
- Release Left Mouse Button and Shift
Transformation Methods Only available on certain projects
This is the type of transformation which is applied to warp the image onto the map using the points you have selected:
Thin Plate Spline (TPS)
This type of transformation is suitable for most maps and applies different amounts of warp based on the points you add.
Treats the image like a sheet of elastic. Each point you place stretches that location to the place specified and then the effect tapers off.
Requires many points to pull complex images into the correct shape but can give the best fit when a complex transformation is required.
Affine
This type of transformation is only suitable for accurately drawn maps, e.g. Ordnance Survey and performs the same amount of warp to the whole image.
Combines rotation, scaling and skew. Only 3 points are used so if you add more they will be averaged out.
Requires the least number of points and gives a good fit when the image is reasonably accurate.