Headstone Documentation
Getting Started
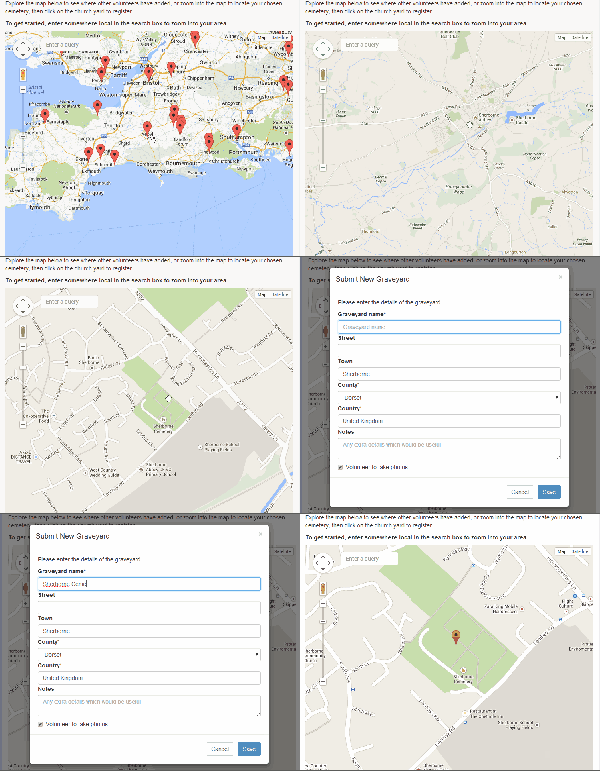
Adding a new graveyard
- Zoom in as far as possible onto the graveyard
- Click in the centre of it to set the location accurately
- Fill in the name and correct any location details which you feel could be improved
- Click Save
- At this point your graveyard will show on the site as “Awaiting Approval” until one of the UK Indexer Team can take a quick look at it and check the details / location look correct. If you want to get started straight away, don’t worry about this status – we will always approve valid graveyards
- Any red markers already on the map indicate that a graveyard has been registered and is in the process of being photographed. Purple markers are partially completed graveyards - if you wish to contribute further please contact us
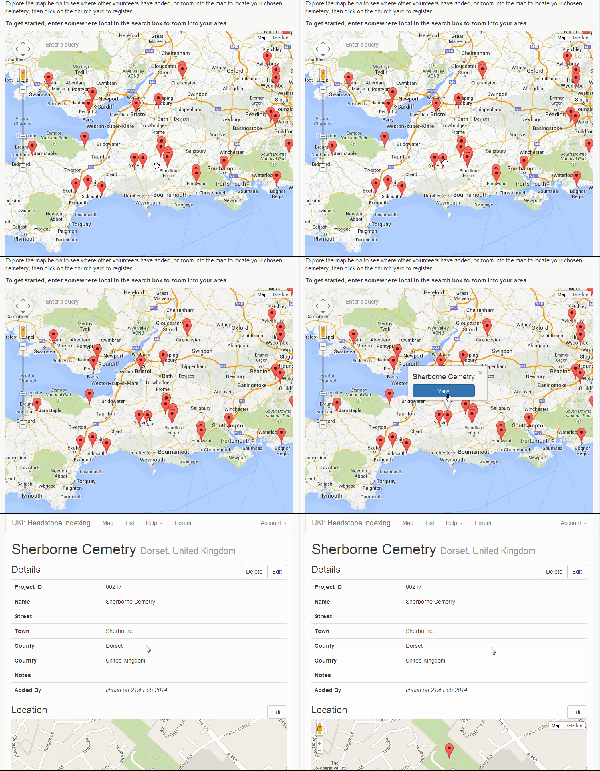
Viewing a graveyard project page
- Zoom into the map until you can see the marker you are interested in
- Click on the marker - a popup will show with a View button
- Click this to view the project page
- or
- Click on "List" from the top navigation menu
- Click on the entry you are interested in. Note: you may use Ctrl+F to search for a word on the page
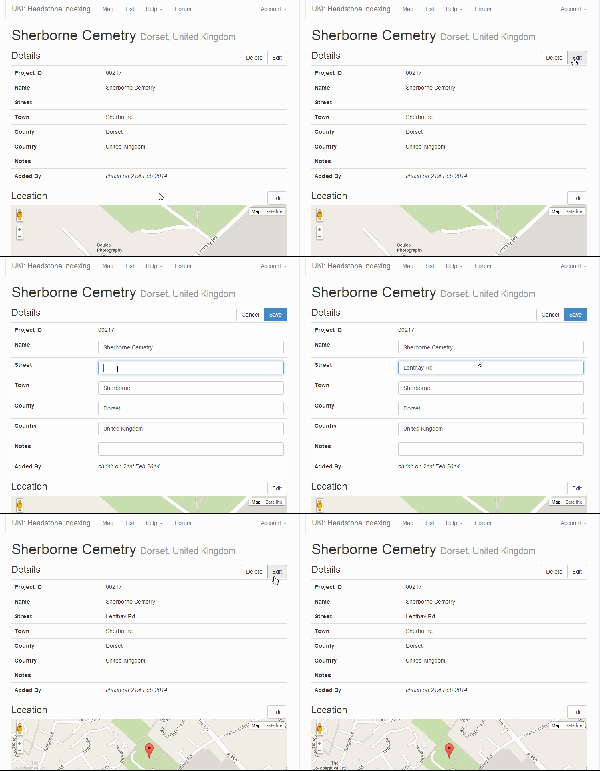
Editing a graveyard's details
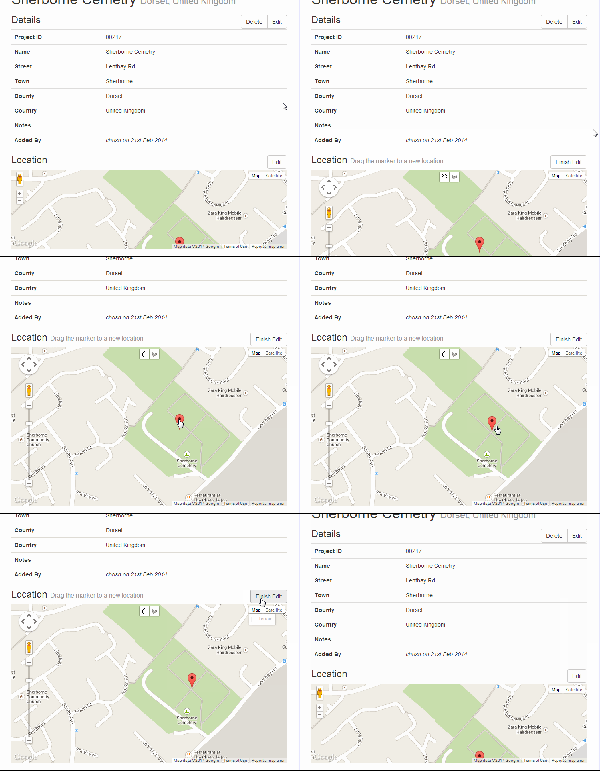
Editing a graveyard's location
- Browse to the project's page
- Click on Edit button next to "Location"
- Drag the marker to the new location - all changes are saved automatically
- Click on Finish Edit
- Please Note: You may only edit graveyards you have added
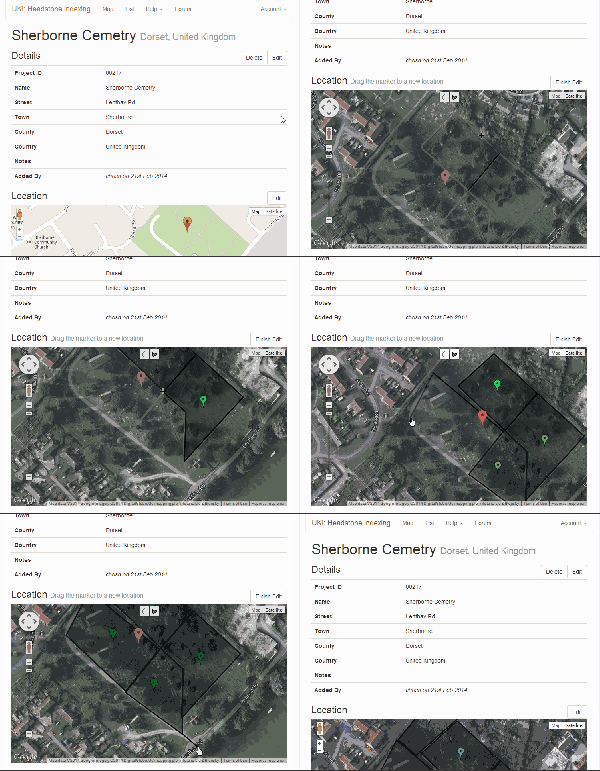
Dividing up a graveyard
For large graveyards, it may be worth dividing up the plot into separate areas which can be referenced. This will help people re-find the plot or allow multiple people to collaborate.
Once a graveyard is split, the areas will be shown on the map with green markers in each. Click on these to be shown the reference number to use in the transcription.
- Browse to the project's page
- Click on Edit button next to "Location"
- It may be worth selecting "Satellite" on the top right as often small paths etc. will not be shown on the regular map layer
- Click on the Polygon tool at the top of the map
- Draw a shape onto the map by clicking on each corner of it and then back on the first point (the cursor will change to a hand when clicking on the first point again). Try to follow any existing boundaries e.g. paths etc.
- The shape is now added and saved and a green marker will show in the centre
- Repeat for each area in your graveyard
- Please Note: You may only divide graveyards you have added
Taking Photos
What to use
- We would recommend at least a 5MP camera / cameraphone. Headstones can be notoriously tricky to read, so please take some sample shots before embarking on a large number of photos.
- Make sure your camera is set to the highest quality setting (the larger the file, the better). Don’t worry about having to upload the images – we will arrange for a memory stick to be posted to you.
When to go
- After rain: Wetting the stones can often make the writing more visible.
- In the sun: An ideal time is when the sun casts a slight shadow over the engraved text.
When not to go
- Low light: flash units connected to the camera will tend to mask the relief of the engraved text causing it to be harder to read. Photos taken in low light without a flash are often grainy unless a tripod is used.
- During a service: Always be respectful of any events which may be running.
How to take
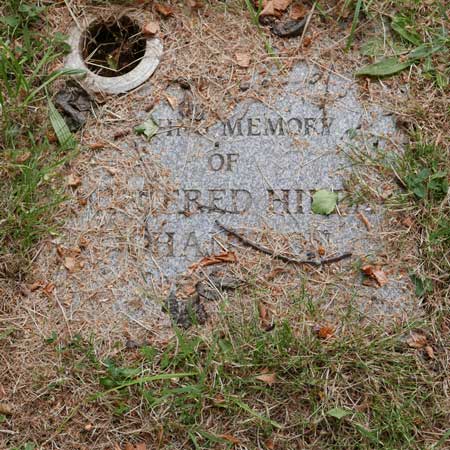
- It is essential to remove any plants, grass cuttings, other debris or obstructions, even just temporarily, to ensure the legibility of the inscription.
- Ensure you are close enough to the stone so that it fills most of the photo.
- The best way to produce an easily readable image is to take it at a slight angle.
- Try to take it so your shadow does not fall over the stone.
- Please check the photographs meet the required standards before uploading.
What to take
- Take 1 or 2 overview photos of the graveyard / church as a whole.
- Take a photo of the church board (if possible).
- Try to take one photo per stone - although some may have writing on multiple sides so take each side, or along each kerb.
- If possible, look inside the church for further headstones / memorials.
- If there are any war memorials outside or inside the church please photograph these as they can also be used.
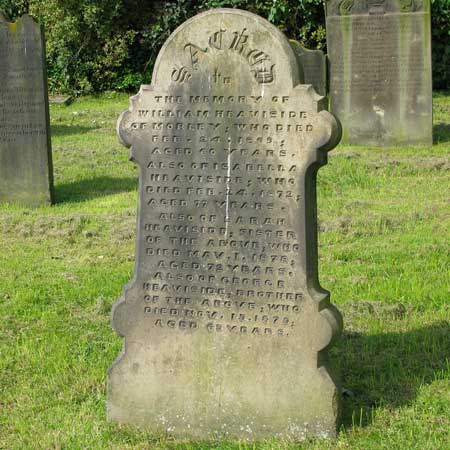
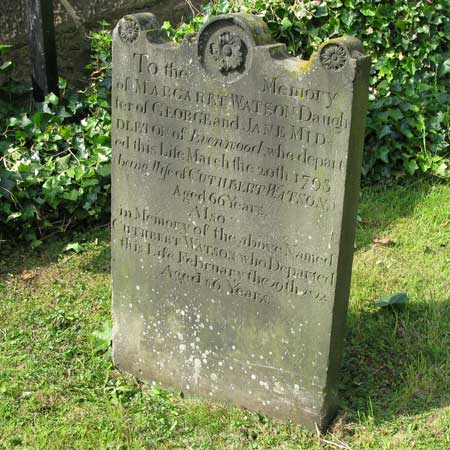
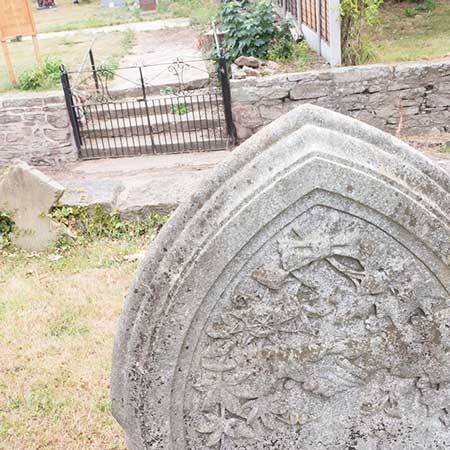
Example Photos
Example "What Not To Do" Photos!
FAQ
- Do I need to get permission from a church to work in the graveyard?
- Graveyards are public places, however you shouldn’t climb into locked areas. If you are approached, most vicars will be supportive of projects where the aim is to preserve the information on gravestones.
- How much work do you have to do to earn a credit? What is a credit worth?
- Credits will be issued relating to the amount of photos and transcripts submitted. As a volunteer project we are very happy to be able to offer credits as a reward, which can be redeemed against subscriptions to our sister site, The Genealogist, or against products from S&N Genealogy Supplies.
- The current products which can be purchased with credits may be viewed here
- I already have some photos from a graveyard, are you interested?
- Please contact us specifing the location, number of stones etc. and we can look into if these can be used.
- What do I do once finished?
- Images can be uploaded through the site. Click on the church or cemetery you have registered to complete and simply drag and drop the files into the correct area.
- After we have received and processed these files, they will then be available for you to transcribe in our online tool which can be accessed through the 'My Account' tab at the top of the page.
- How long will I have to complete the photographing?
- To keep the project fair, if you have not uploaded any photos within 6 months of volunteering you will automatically be un-volunteered and the graveyard will be available for others to do.
